My
Basic to start the year! Many people have asked me how I make my dough, and I had this entry . Hopefully will be useful. Although there are many doubts and unanswered questions, I am in the order as far as I can, I am no expert on sourdoughs, I'm learning ^ _ ^
There are many ways to make a dough. , I keep experimenting with different natural enzymes. It is interesting what happens, although I understand little of the biology of the matter. It is fascinating the process of creating, to give life and nurture these fabulous "bugs" that help us make a staple like bread. Without doubt, are my "pets" Favourite ...
This mass mother learned to make in my classes. I like it for its mild flavor, the delicious aroma of beer, which is not acidic and can be kept fairly stable with some care. which use is around six months or more with me, and I lost count:) always produces excellent bread and since I have it, do not use any other (I left my first sourdough still resides in my fridge, I throw it hurts my soul, is nearly three years, and gave me very good bread, but from the beginning has been a bit sour for my taste). Well, I roll it up more:))
What do we need? wheat flour or baking power, malt extract and water at room temperature, preferably filtered (you can also use boiled water or mineral water, the important thing is that it does not contain chlorine).
"Malt extract is a blend of natural sugars, which results from the enzymatic hydrolysis of malted barley," according to an Internet source. It has the consistency of honey and dark. The flavor and aroma that adds to the sourdough is wonderful. In fact, it is a ingredient commonly used in baking for the benefits it produces in terms of taste, smell, texture and even the color of the crust.
The amount of malt extract that I use is 0.5 gr. then increased to 1 gr. and finally 2 grs. Measuring these quantities is difficult, especially 0.5 gr. But do not worry, just use the tip of a knife or spoon.
I've heard it can be replaced with honey, molasses or sugar, but is something I have not experienced, and though possibly also get a sourdough, will lack that touch that gives the malt, which is characteristic of this one in particular.
(Note: Apicius friend has informed us in a comment that malt extract can be found in a herbalist or health food stores and they sell ingredients for making homemade beer. Here where I live is in the stores and pastry and bakery products). also need a glass container with enough capacity to avoid spilling the sourdough if you were to triple its size.
The process that I propose in its entirety requires 6 to 7 days (usually sourdough will be ready on DAY 4, but continue feeding them for two days until they double or triple in volume by approx. 4 hours ... it is preferable to make sure everything is in perfect condition for use, so wait a couple more days to use it harms no one). If all goes well on Day 6 or 7 and we use it to make bread.
When I refer to simply refresh and feed mixed with flour and water (and in this case the pinch of malt extract).
Always remember when going to make bread, save a little of dough, cool it and keep it in the refrigerator until next use, unless you make bread daily or several times a week and want to keep it at room temperature refreshed every 8 hours.
While it is true that you can keep in the refrigerator for weeks, even months, without refreshing and even recover, it is best that the refresh once a week to keep it in optimal conditions.
To make bread, the dough always is in top condition and has refreshed once a week, just enough to cool it between 4 and 8 hours before using. The
can make a sourdough or rye flour, flour desired cooling with two or three times before use, but remember to always keep a little of the original dough for future use. A white dough is always very helpful.
I have reduced the amount of the original formulation of the dough for practical reasons, Day 1 started with a minimum amount that will increase day by day, and from Day 4, discard a part of the ferment. The original formula of this dough, just going by doubling the amounts, but eventually the amount of dough could not refrigerators in our home, or should we throw a lot of flour in the process.
The ideal temperature to make this dough is between 23 and 25 C. But I've had success with my kitchen between 15 and 16 C by placing the container near a heat source (the hot water bottle: D)
Hello? They are still there? hehe, hope you have patience and keep me company through this exciting experiment!!
DAY 1 10 grs. wheat flour baking or force
10 grs.
filtered water 0.5 g of malt extract (the tip a spoon or a knife)
1. Weighing 10 grams. flour and 10 grams. water.
2. With a teaspoon take a minimal amount of malt extract, approx. 0.5 gr.
3. Mix water and malt extract.
4. Add the flour and mix well.
( From the second day we will not use metal instruments to mix it is said that metal can interfere with the process. Lollipops or will use a wooden or plastic spoon ).
5. Mix until everything is very well integrated.
6. The package will cover it with a piece of plastic film.
7. Place the sealed container at room temperature, ideally between 23 and 25 C. In winter, place it next to my electric water heater to keep water on 24. (The temperature at that place in my kitchen should range around 23 C at this time of year)
8. The mixture was allowed to stand 24 hours.
DAY 2 24 hours after the mixture has not issued any particular odor and observed only a couple of bubbles on the surface.
Now mixtures:
20 grs. ferment (all)
20 grs.
water 20 gm. Strong flour or bread
0.5 oz. malt extract
1. Mix the yeast water and malt extract.
2. Mix to incorporate air. 3.Add
flour and mix well.
4. The mixture should look like.
Cover with plastic wrap and leave at room temperature for 24 hours.
DAY 3 already the second day after less than 24 hours, we see that there has been an awesome activity, the mixture is filled bubbles and has doubled in size . But not yet issued the aroma of beer we want, nor have they begun to produce yeasts that we want.
this time mixing the same way as the previous day:
; ; ; 60 grs. ferment (all)
60 grs.
water 60 grs. Strong flour or bread
1 gr. malt extract
1. Mix well the yeast, water and malt extract.
2. Add the flour and mix well.
3. The ready-mix.
4. Cover the mixture and let stand 24 hours.
DAY 4
On Day 4 there was less activity on day 3, a little disappointed, but still, it is also normal temperature today was around and perhaps the 7 C warmer place in my kitchen did not reach 16 C.
From this point, discard a part of the previous fermentation, and mixtures:
50 grs.
ferment
50 grs.
water 50 grams. Strong flour or bread
1 gr. malt extract
follow the same procedure as the previous days. We put the mixture at room temperature. Let stand 24 hours.
DAY 5
Success! Our yeast has doubled its size and the activity was very notable. Sourdough issued with a pleasant smell of alcohol that reminds me a beer. But we still need to strengthen it for a couple of days before use.
Like the previous day, throw a party and mix:
50 grs.
ferment
50 grs.
water 50 grams. Strong flour or bread
1 gr. malt extract
We
our mix as the previous days and left to ferment at room temperature. Now observe the activity and the time needed to achieve double and filled with wonderful bubbles, which will surely be much less than 24 hours.
DAY 6
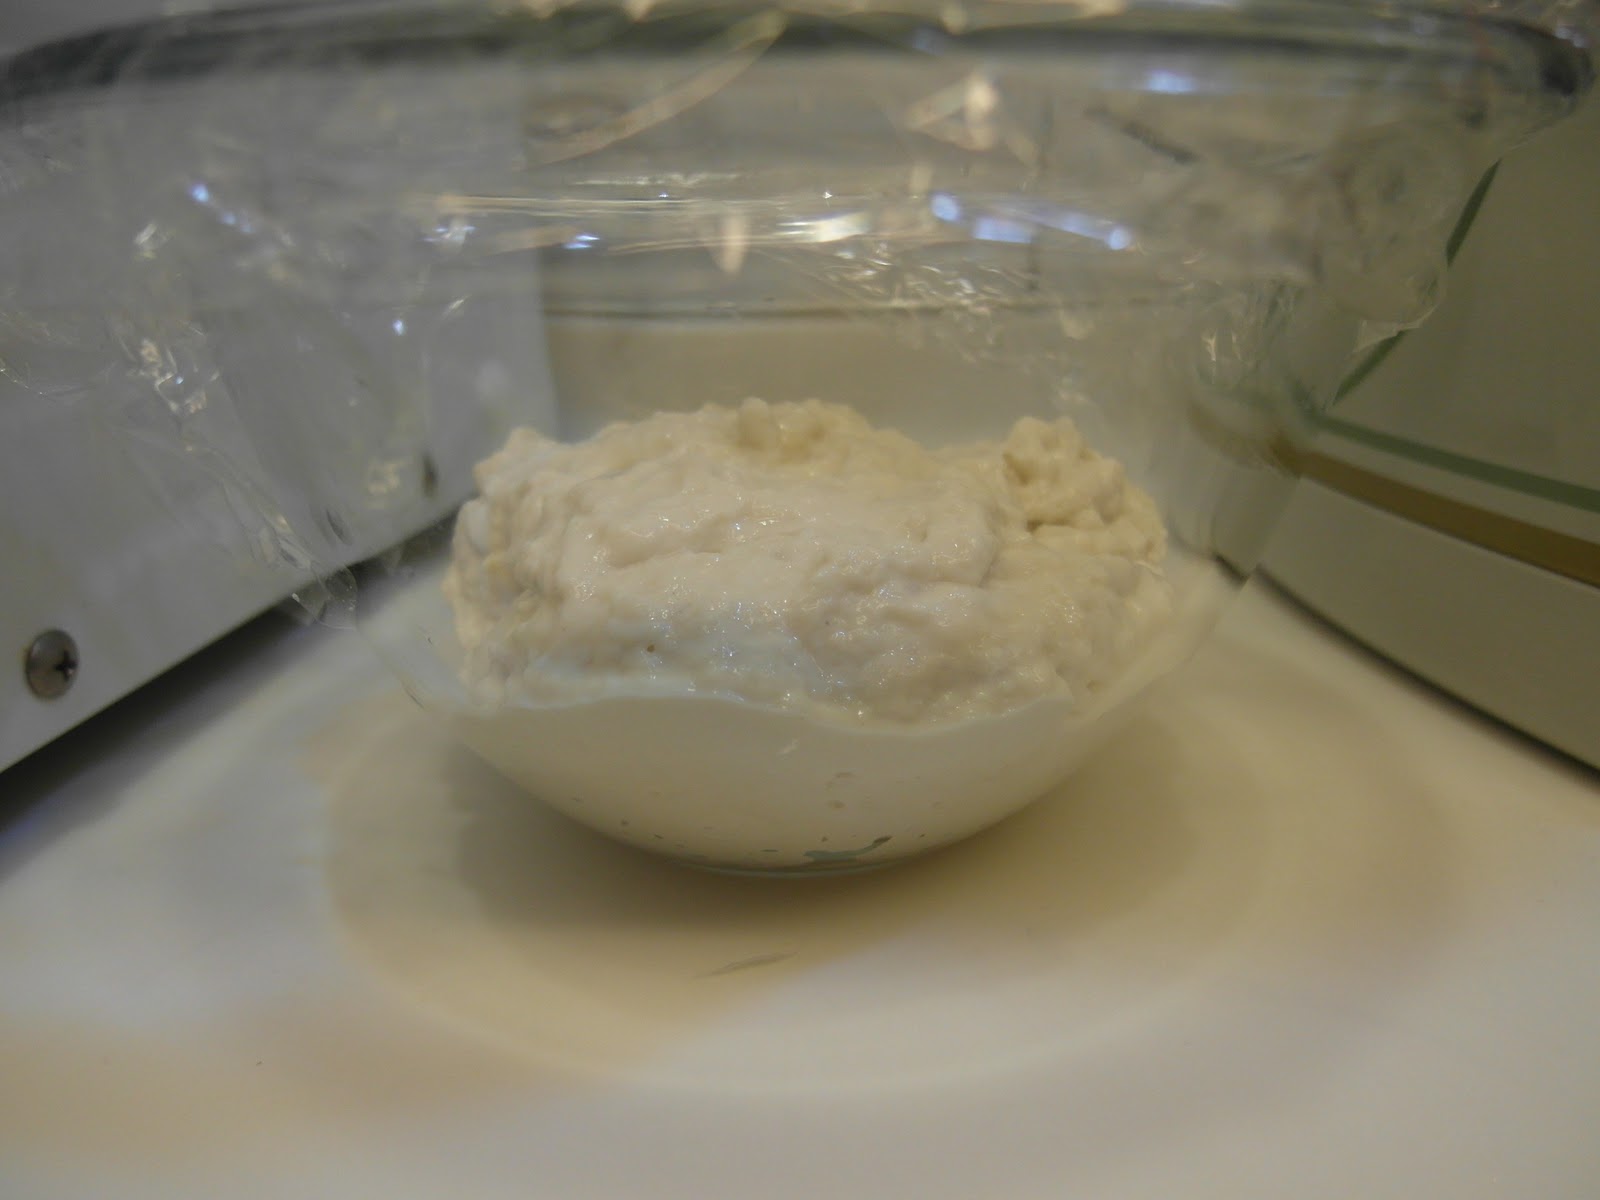
On day 6, the sourdough reached its peak of activity at approx. 8 hours. We note the large amount of bubbles, a pleasant smell of beer and obviously has doubled volume.
Next, go to cool it,
Just as on Day 5, 50 grs. sourdough, 50 grs. water, 50 grs. bread flour and 1 gr. malt extract. Mix well, cover and let rest.
In a little less than 4 hours the dough has almost tripled, full of bubbles, aromatic and strong. Ready to use in our bread. sourdough We have a 100% hydration , which means that we have used the same quantity of flour and water.
can keep it that way if you want. I'm used to maintain at 80% hydration, I feel more comfortable and I find it better.
(Due to time constraints I will not use today then brought to the refrigerator until tomorrow when the refresh you before making my first bread. So Day 7 will always be the way to refresh my sourdough before making any bread . Unless you need more of sourdough. I always keep 280 grs. sourdough, and usually lose a little each time it cools)
DAY 7
Before making a bread dough refresh my mother who has been in the refrigerator as follows: (Although no longer necessary to use malt extract every time the cool, I like to put 1 or 2 grams. malt extract every two weeks. I see the malt extract and vitamin of sourdough flavor that will renew their strength every few time). 100 grs. sourdough 100 grs. bread flour or force 80 grs. water
2 grs. malt extract (from this point is optional) Mix
First the water, malt extract, then add the dough, and finally the flour. Mix and let ferment 4 hours. I left at room temperature and four hours later I was bubbly, fragrant and ready to use - a 80% dough hydration. (Note: If you are not going to use right away, take it to the refrigerator and use in hours. If you find that starts to drop, cool it again before using.)
May
are encouraged to try this sourdough and like as much as me.
In the next posts I bring two proposals to do with mass fabulous mother. Stay tuned ^ _ ^